_1200x879.jpg?v=1641825424537&options=w_{width})


How to Create your Own Seacuterie Board
11 May 2022 by Wright Brothers Team
Learn how can you impress friends and family with your very own seafood platter
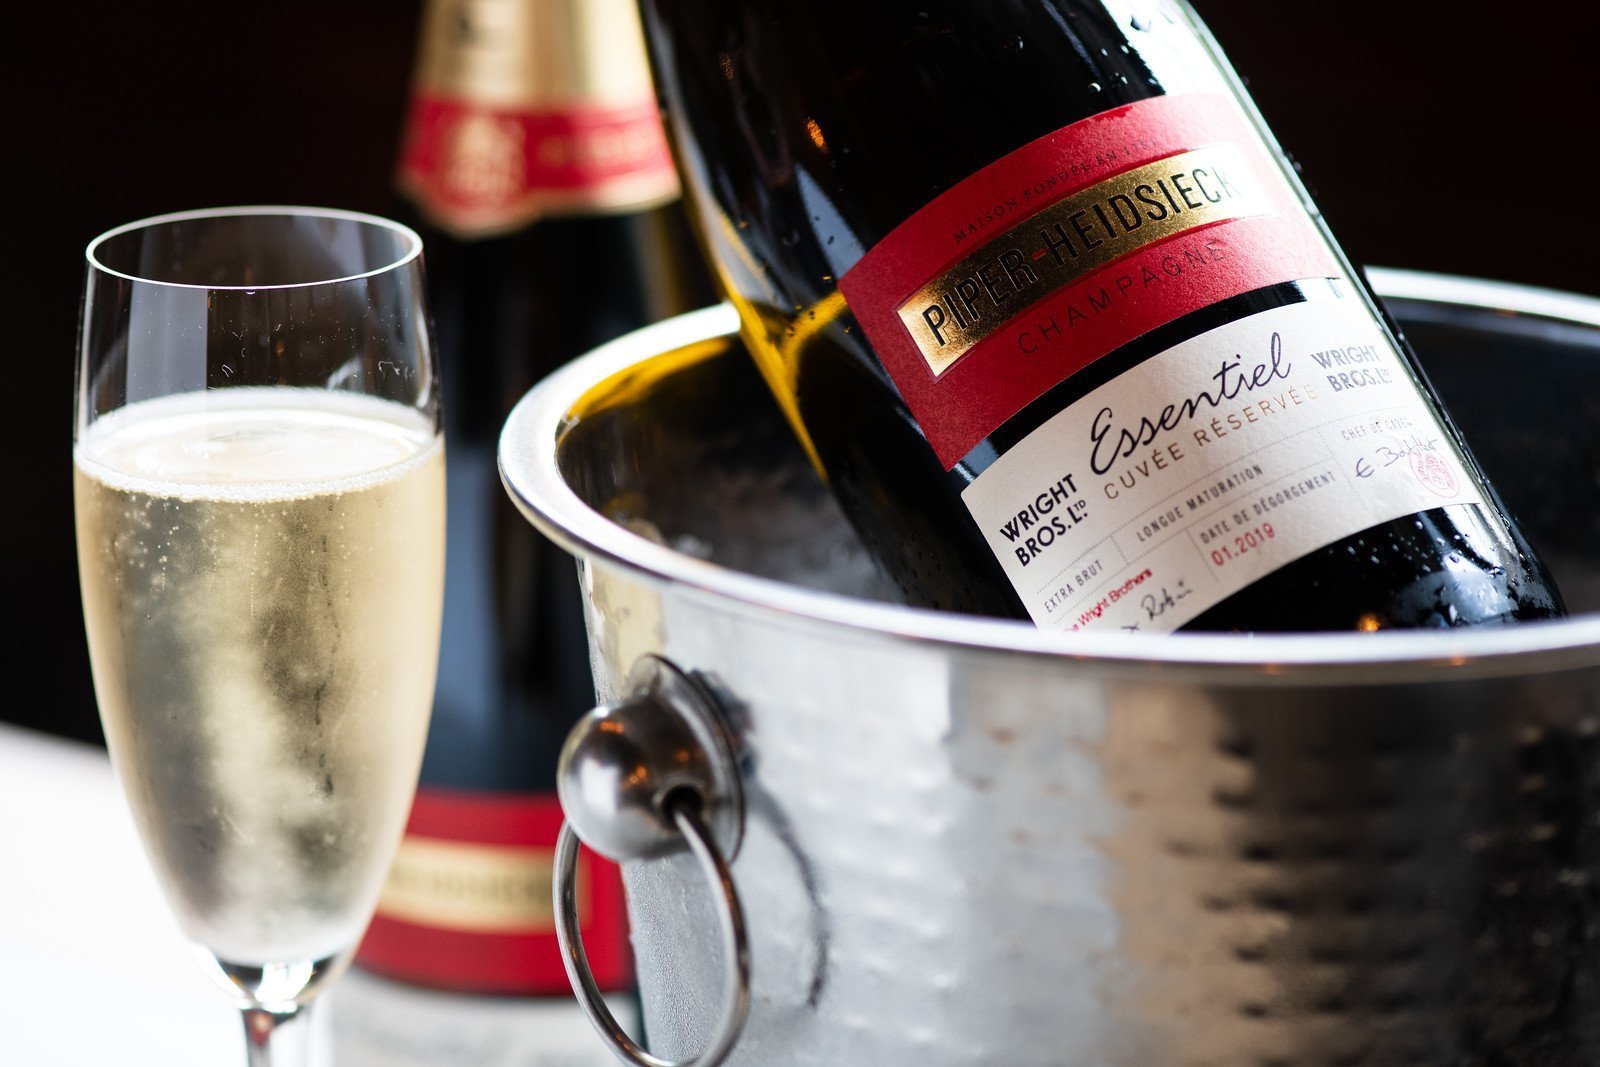
A charcuterie board is a selection of cured meats paired with complementary foods including fruits, nuts, crackers and dips. They have become increasingly popular over the years, as they have a very Instagramable appearance and are perfect for all occasions. However, we’re here to surprise you with an even better food trend… a seacuterie board!
A seacuterie board is similar, with the only difference being the cured meats are replaced with smoked seafood. As we’re lovers of all things seafood, we knew we had to jump on the seafood platter trend and show you how you can also create your own seacuterie board at home.
.png?v=1652107341047)
What You Need to Create a Seacuterie Board:
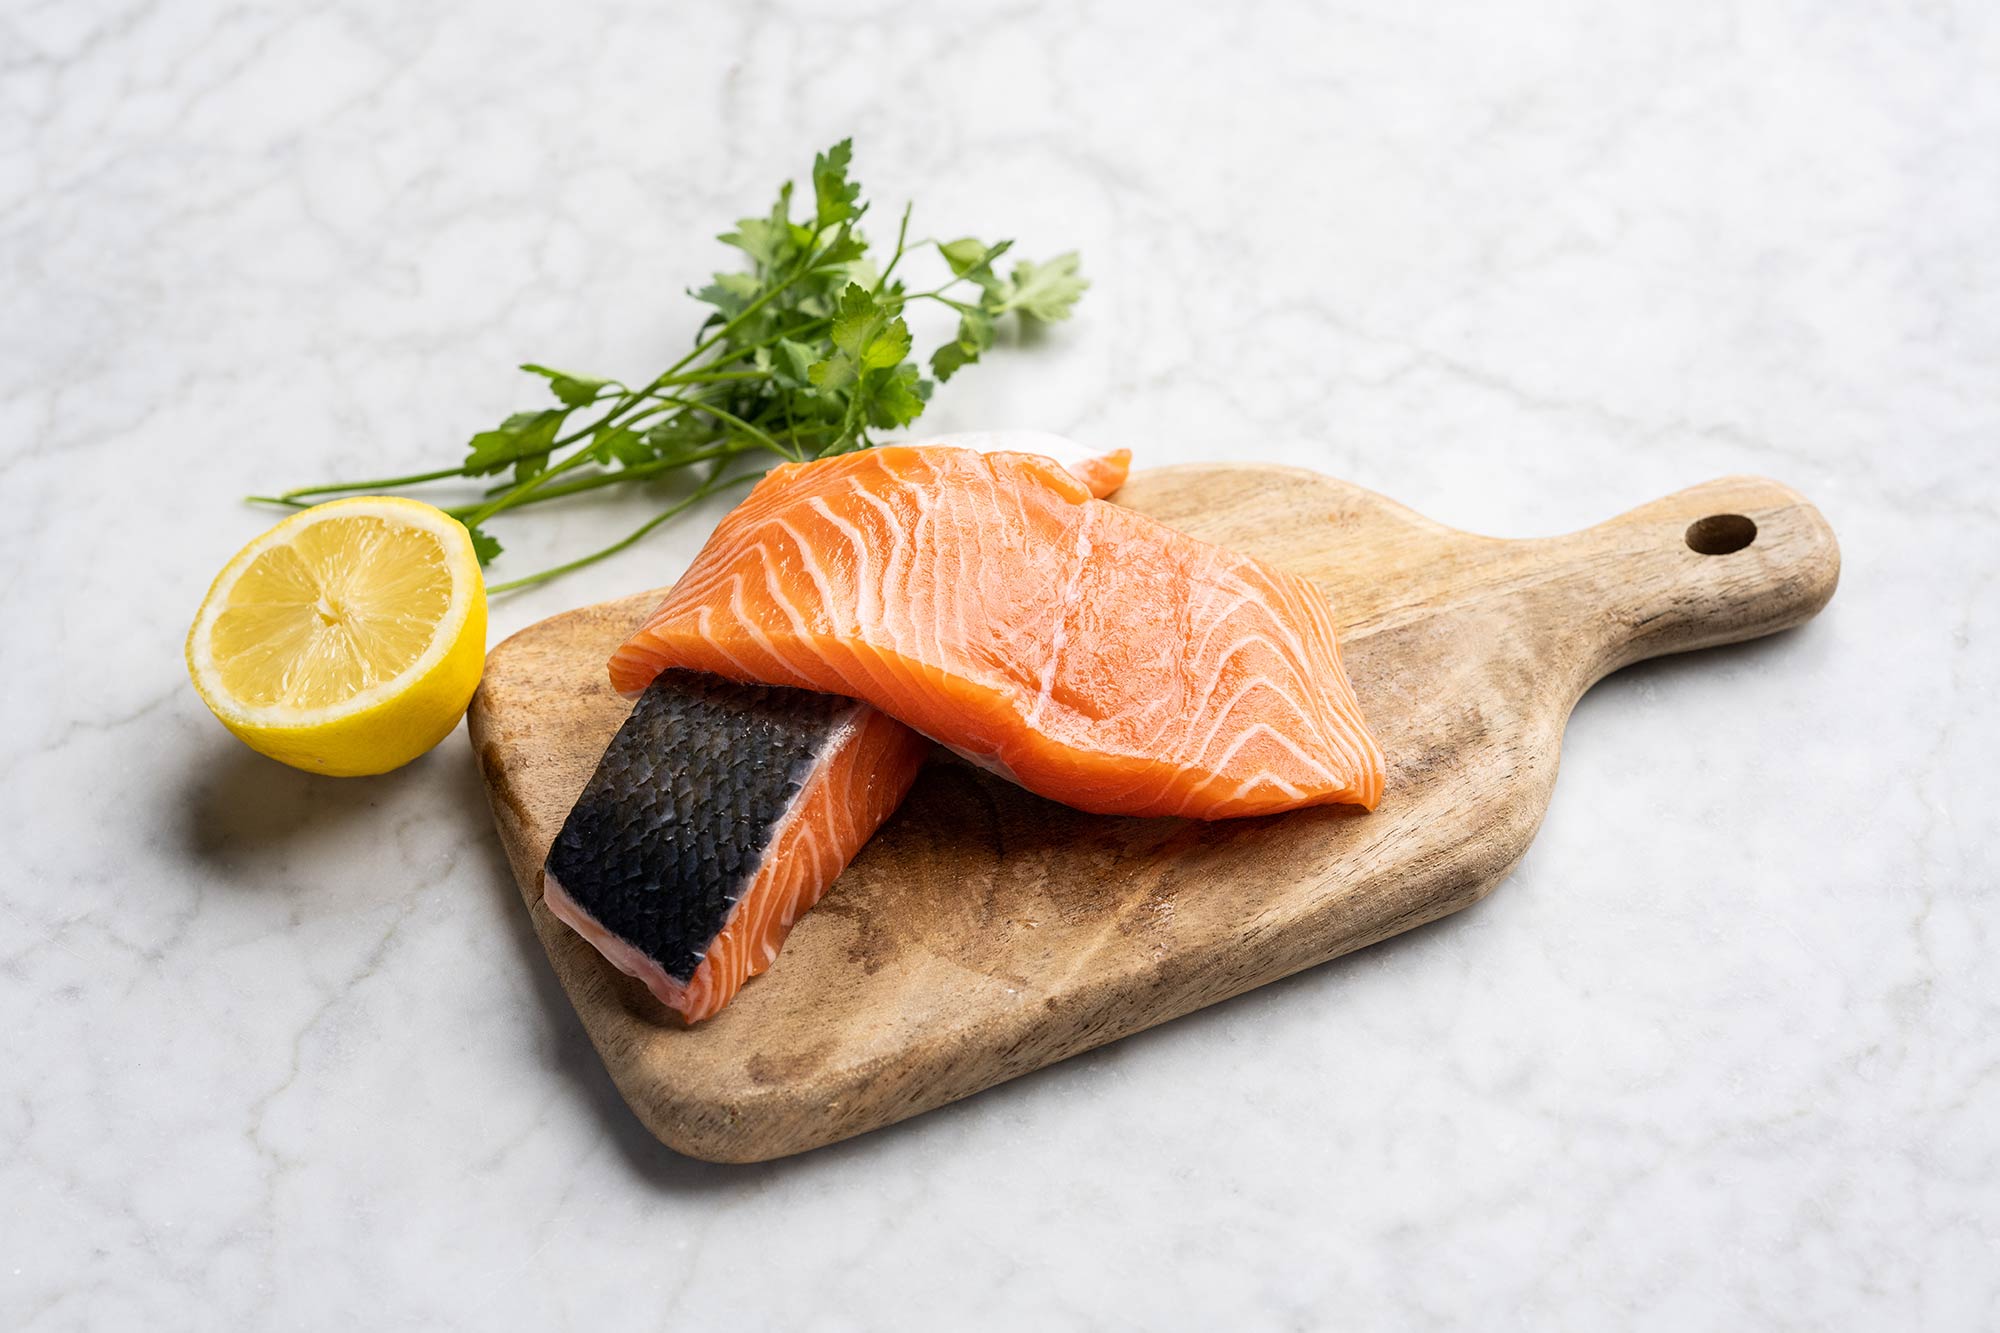
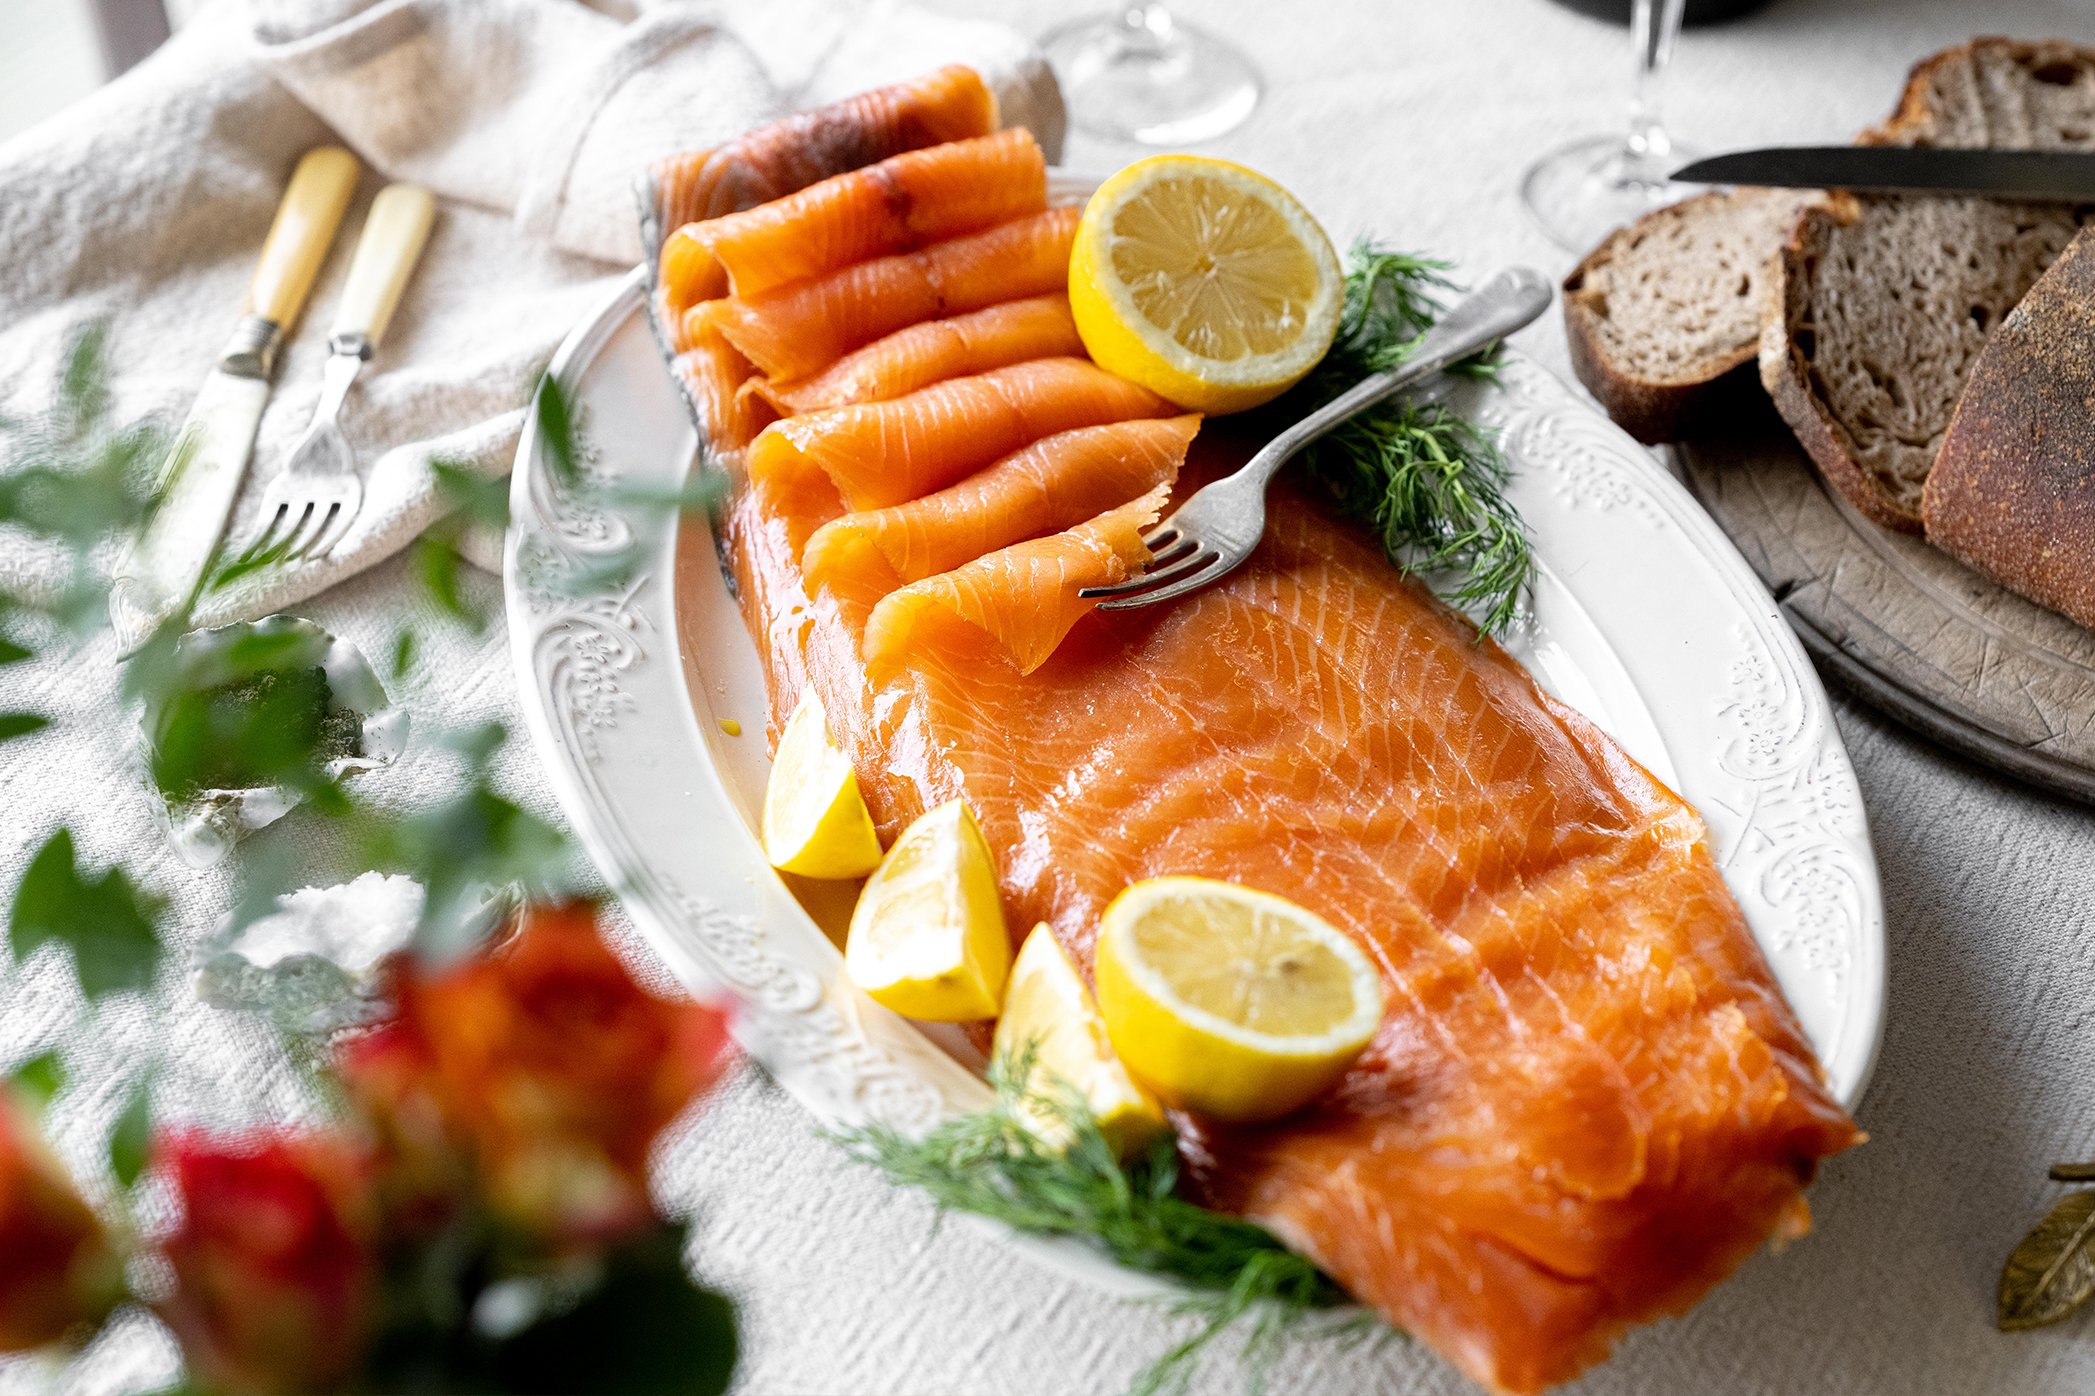
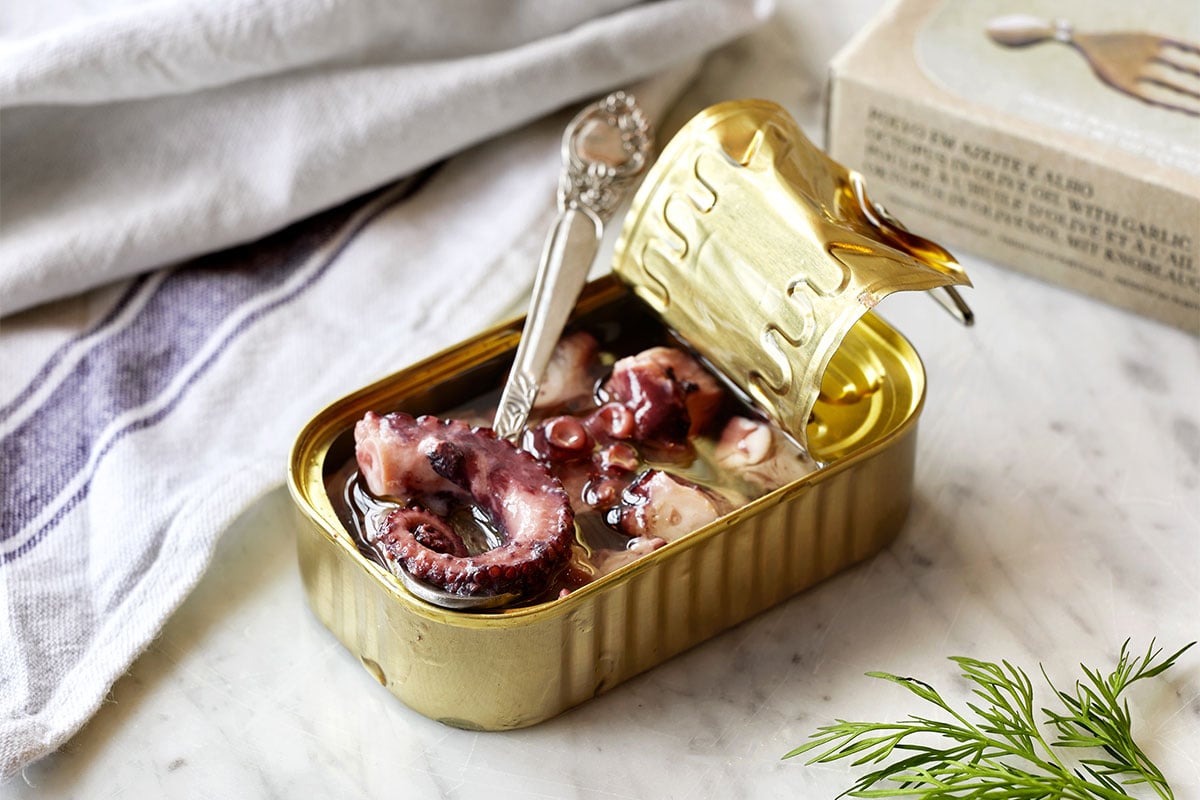
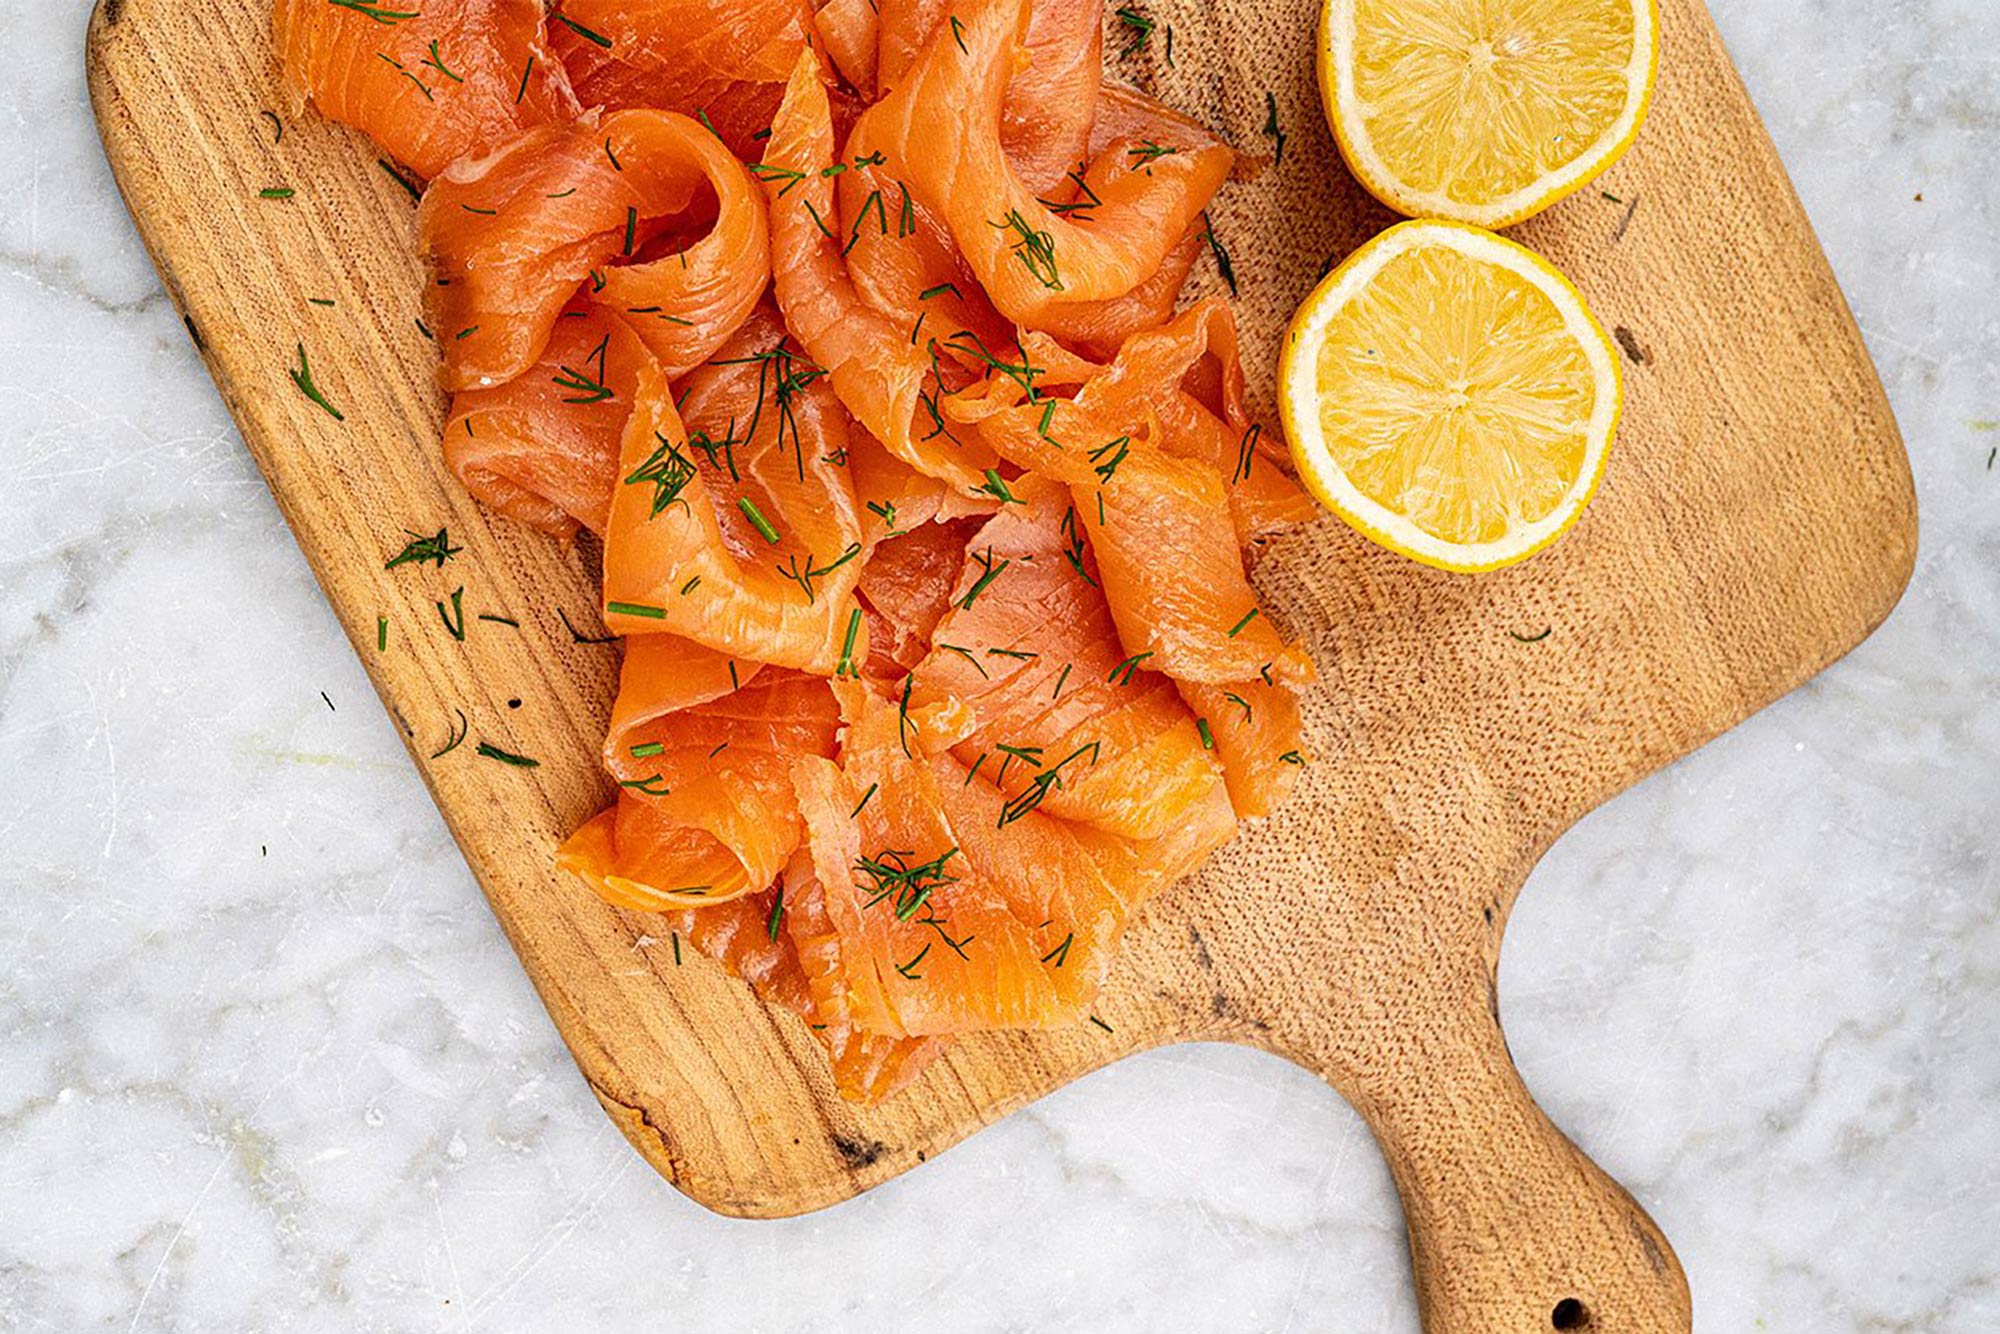
Firstly, you need to decide the types of seafood you would like to tuck into and how many your seacuterie board is feeding. When creating our seafood platter, we were feeding four – five people so included a selection of six smoked seafood items including, Smoked Salmon, Beetroot Gravadlax, Smoked Tuna, Fresh Dressed Crab, Octopus in Olive Oil and Garlic, and Tuna Paté. Alongside the deliciously fresh selection of seafood, our seacuterie platter was accompanied by Olives, Grilled Peppers, breadsticks, nuts and sliced fruits including tomatoes.
How to Create a Seacuterie Board:
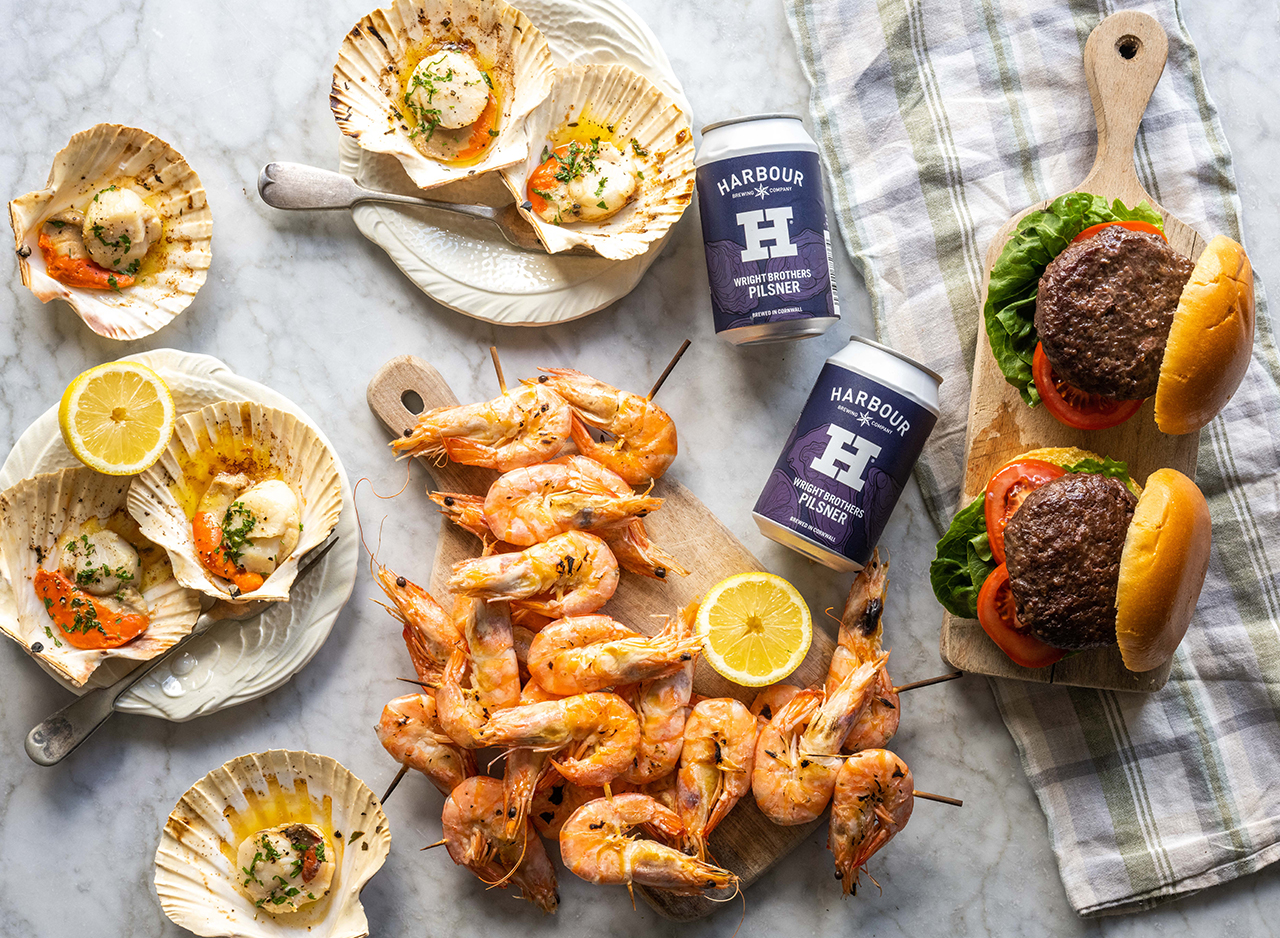
Once you have your chosen items of seafood and snacks, you can begin to assemble your seafood platter. On a large serving plate or chopping board, arrange the items of food in a way that shows a variety of colours, textures and sizes with the largest in the centre as the main focal point. With this in mind, we positioned our Fresh Dressed Crab in the centre with the smoked seafood surrounding it. For items such as Olives and Grilled Peppers, a small dish is an effortless way to serve, as it will prevent oil from spilling over the seafood platter.
It is also a good idea to include small serving spoons or cocktail sticks with your seacuterie board. We used these with our seafood platter, so guests could easily tuck into the Olives and Tuna Paté without causing a mess or needing a napkin. Once you’ve finished positioning the main seafood components, you can fill the space with fruits and nuts. Not only does this add to the delicious flavours of your seacuterie board, but also adds vibrancy making it an enticing seafood platter that everyone wants a bite of.
Now you know how to create a seacuterie board, you can impress friends and family at your next summer gathering, dinner party or BBQ with your very own iconic seafood platter. Head over to our Instagram to watch our seacuterie reel for more help and don’t forget to tag us in your seacuterie creations @wrightbrosltd.